In today’s post, I talk about stage directions in fiction, writing natural descriptions, why some books are constantly reread by readers, and, to an extent, immortality.
Orderly Description
Ever played that “blind drawing” party game? You close your eyes or put a piece of paper on your head and someone gives you direction upon direction to cram into one picture?
Here’s an example for the party planning website Sophie’s World (which, consequently, is the title of one of my favorite books):
“I’d like you to draw the outline of a house. Just a simple little house, right in the middle of the page… Now, beside the house I’d like you to add a tree, a medium sized tree, not too big, not too small… Oh, I forgot! You need a front door on your house. Please draw a front door so that the people can come in and out easily… Oh, did I tell you there are apples in your tree? Draw a few apples, maybe 5 or 6, in your tree now… And don’t forget the windows in the house! I think two would be nice… Did I remind you to draw a chimney? Let’s put a chimney on the house, with some smoke coming out the top… Oh, and look! There’s a dog in the yard… And a picket fence… And of course there’s a family…”
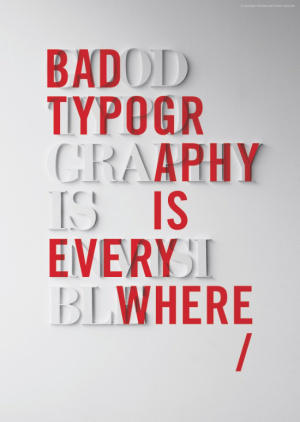
This is the kind of experience a reader has when you describe something in an unnatural order:

It’s also what it’s like when description is given out of order. When describing a scene, consider camera shots.
Zoom in from broad descriptions, ending on one specific detail. Or zoom out, starting on a detail and working your way out to observing the whole. Pan in one direction. Going in an unnatural order gives the nauseating effect of “shaky cam.”
Adding details too late, after the reader has already created the image in his or her mind, gives what I like to call the “awkward goat” effect.
Writer: “I went to give the goat a kiss. Then the other goat—”
Reader: “Wait, there’s another goat?”
Goat: “SURPRISE! I’ve been here the whole time!” (maniacal goat bleating)

While this is used effectively in visual comedy, redirection doesn’t really work in fiction.
Overcomplicated Stage Directions
Another problem of ineffective description is overcomplicated stage directions. I see sentences like this all the time in unpublished manuscripts:
“Come with me,” Jorge said and turned around while kissing my hand as we ran away together.
Though these are most often found in dialogue tags, I see overcomplicated stage directions all over. That sentence above is just one I made up, but let’s rewrite it so it doesn’t seem like “he” is doing a hundred things at once.
First, find the perps: “and,” “as,” and “while.” The two latter words can often be cut in stage directions. The former is a fine word that sometimes gets overused. Let’s focus on no more than two actions at once.
Said + turned, kissing + ran
“Come with me,” he said, turning around. He kissed my hand, inviting me to run away with him.
Let’s also apply what we just learned about orderly directions, and cut the unnecessary dialogue tag.
Jorge turned around. “Come with me.” He kissed my hand, inviting me to run away with him.
What did I just do? I took advantage of my friend the progressive verb.
A progressive verb is a verb ending in -ing. That ending tells us that the -ing verb is happening while something else is going on, while letting us cut the “while” or “as.”
“While” and “as” aren’t bad words. It’s not about the word, it’s how you use it. By all means, use “as” to make a simile (e.g., “as [adjective] as a [noun]”). “While” is an innocent preposition until proven guilty. The problem is using them to show more than one thing happening concurrently. Show me a manuscript which uses “while” or “as” in the first page in stage directions, and there’s a big chance that same construction will keep showing up over the next ten pages.
Doing a find/replace search for all instances of “as I,” “as we,” “as she,” “as he” (depending on your POV), repeating the search with “while,” will help you see if you’re going overboard. Also be on the look-out for “then” and “before,” more signs of wordiness and or disorderly directions.
Use them a few times, and that’s fine. Do it a few times per page—or worse, per paragraph—and you’re just being unnecessarily wordy. Gone are the days when novelists are paid by the word.
The Divine Detail
Remember, your novel has to compete with online, in-demand television and movies. You need to keep your reader’s attention. That doesn’t mean your novel needs explosions or murders every other chapter; it means your prose needs to be immediate and precise rather than longwinded and wordy. You want to be Robin Williams giving his Seize the Day speech, not Ben Stein droning about economics. The difference isn’t just subject, it’s diction. Do diction right, and you’ll engage readers that otherwise don’t care one iota about your subject. That is, until they start reading your book.
When describing, choose one or two vivid details, referred to by editors as “divine details” that can set the scene or characterize, and let the reader fill in the rest of the image. Compare the chaos of the drawing above (ain’t I an artiste?) with expansion drawings done by children:
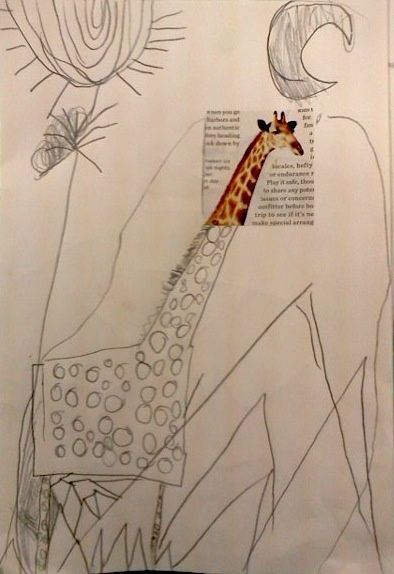
Image via ArtMommie. Click for more images.
When the reader is allowed to contribute, your work takes on a new form. It evolves in the readers’ individual minds. It’s a spark which they build upon to create a conflagration.
Letting the Reader In
It doesn’t matter how brilliant of a writer you are—writing and reading are collaborative efforts, and that collaborative effort will bring more life and beauty to your work than you could hope to do by yourself.
Sometimes we write because we’re control freaks. We are the masters of the universe, and we will plot and plan and tell our characters exactly what they should do. But when we let our characters breathe and give them freedom, when we let the reader have some creative liberty, our work takes on a life of its own.
Maybe that’s a cliche, but if you want your work to live on after you’re gone, you need to let your reader experience your world naturally. You need to let them read between the lines and contribute to the meaning and world of your fiction. When you let them participate, readers will not only want to buy your books, they will want to reread your books over and over again, letting them become part of their life, seeing how their interpretations change over the years.