I have got some serious planners following this blog! 😃 Here are my quarterly calendars for 2022 and 2023.
Plan Several Months at Once with a Quarterly Calendar
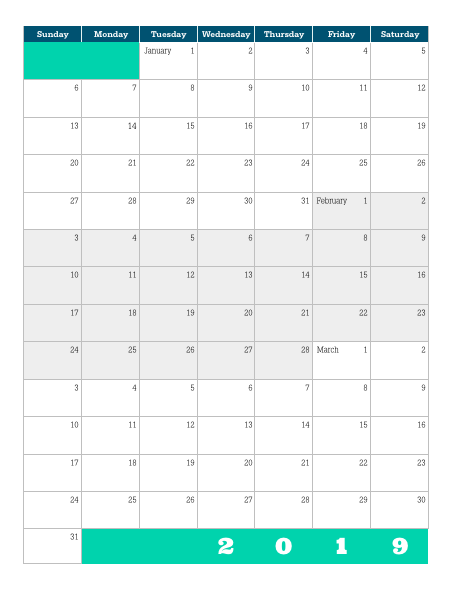
I’ve been using this quarterly calendar since 2015 as a family planner, color-coding events and appointments for each family member. We can see the whole year at a glance, and I use it daily! It also works really well for planning out projects. You could also use highlighters to create Gantt Charts on your calendar.
These are super simple, and I’m letting you download them for free. The only conditions are that you may not upload this calendar to your own site, you may not redistribute it (you can send people here, though), and you can’t profit from the calendar in any way. If you want to profit from a quarterly calendar, you’ll have to make one yourself, from scratch. 💛
Subscribe to my blog (don’t worry, you won’t get many updates from me!), and then download the grayscale calendar here or click on the image link below:

If you find these printables helpful, you can also support my work by sharing links to my site with friends, or by dropping a tip at Ko-Fi.com/larawillard.
Related posts
Love charts? Love planning? Need help with either? You might be interested in these posts:
- Character Worksheets
- The 8 C’s of Plotting Worksheet
- Personal Goal Worksheet (+Inspirational Quotes)
- Chekov Lists
- Task Lists on Trello
- Using Spreadsheets to Track Your Revision (Rainbows Optional)
- Tools & Tricks for Writers with ADHD


